
 Add this to your PSP patterns
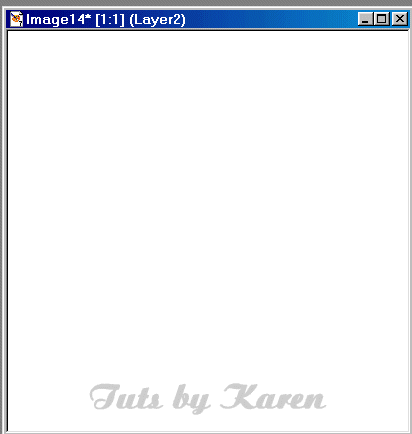
Open a new image 400x400, flood fill with white.
You can either find a mirror tube online or make your own mirror like I will show you.
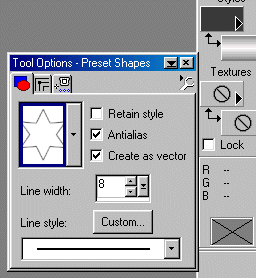
Get out your preset shapes. Use these settings. You can also use any other shape you want.
A silver gradient is used as the background color. You can set the background and foreground colors at the very top of the color palette to make silver. Set one color as black and the other color in a gray color(you can vary the shade of gray as you like) Then when you get the gradient out the first gradient should be silverish. LOL (I hope I have not confused you!)
Draw your shape to the size you would like. On the layers palette, right click on that layer and choose convert to raster layer.
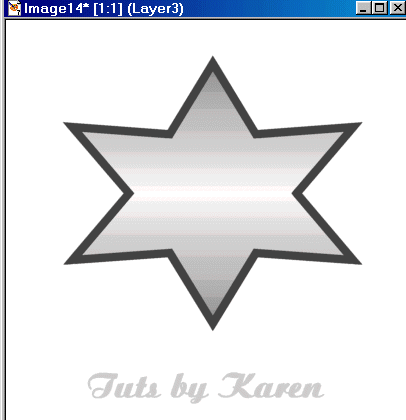
Get out your magic wand. Click only the border of your mirror. There should be marching ants going around it.
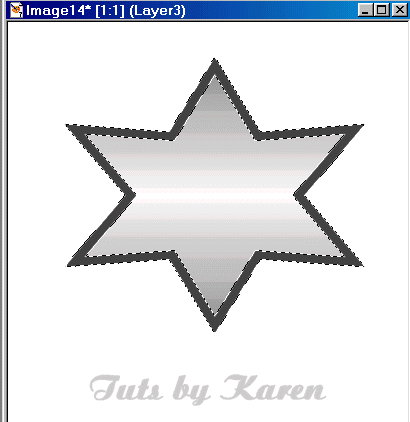
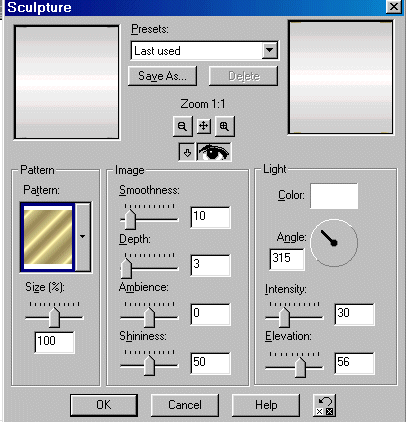
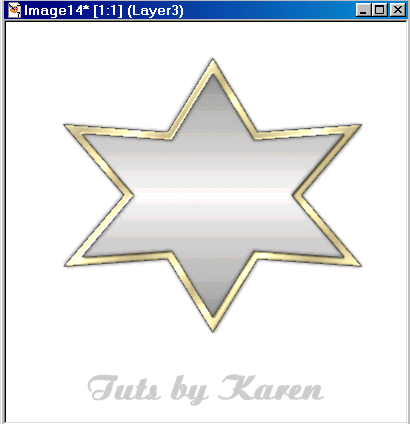
Effects-texture effects-sculpture with these settings and choose the pattern I posted above:
Selections-select none. Put a 1 pixel shadow on it(horizontal and vertical) Then go back and put a -1 pixel(both) on it too.
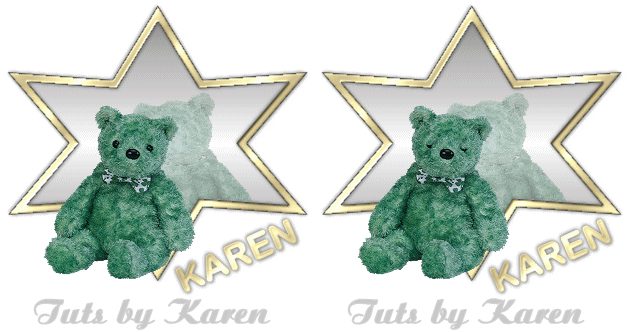
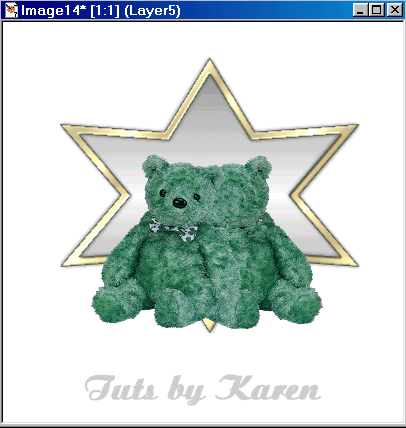
I am going to use a little Shamrock bear as my image. You can use what you like. A doll is a very nice choice.
I copied and pasted the bear in my work, in front of the mirror. Then I pasted it again on another layer, that is the bear that will be in the mirror. I used the clone tool to remove the face and bow, to give the illusion the head is turn backwards.
The bear on the bottom: Go to: Images-mirror:
"hide" the top bear.
On the mirror bear arrange it in the mirror remembering that the whole bear doesn't have to be in the mirror.
I used the eraser to remove the part that will not be in the mirror.
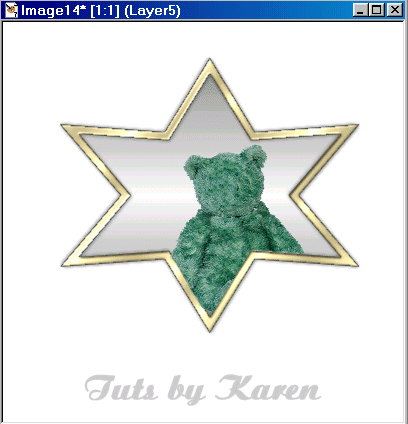
Then I went to the layer palette and slid the slider to 35 transparency.
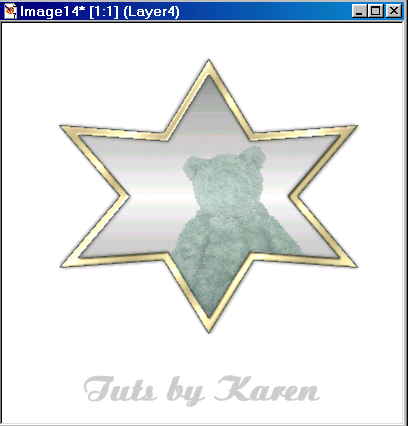
I "unhid" the top bear. Cropped the image, put on my name using the same sculpture settings and drop shadow and made the bear blink. And I was through!
