This tutorial is to teach the technique of using toadies filters to make a mosaic effect. First download the filter
Mosaic Filter
Download the program and put it in your plugins folder. Find a graphic or tube you would like to use and let's get started.
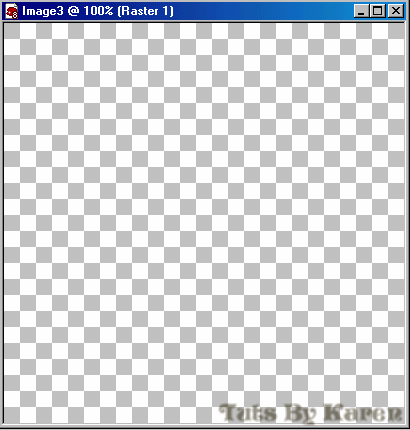
Open a new transparent image 400x400:
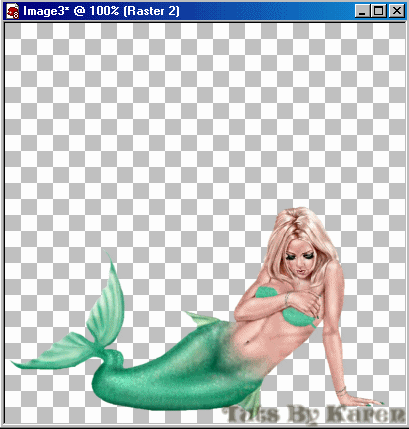
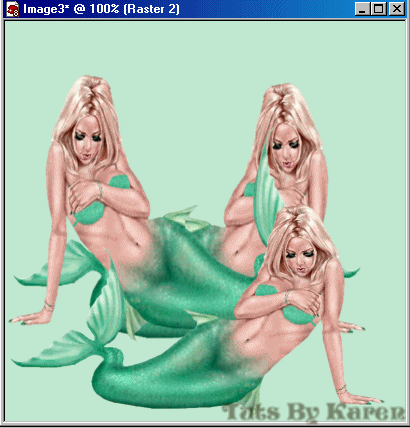
I am going to use this gorgeous tube of a mermaid(Love those mermaids!!)Make sure you place your graphic on a new layer.
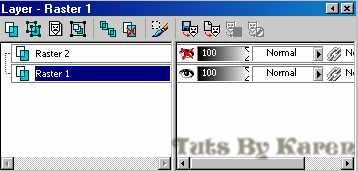
Hide the graphic layer and highlight the bottom layer:
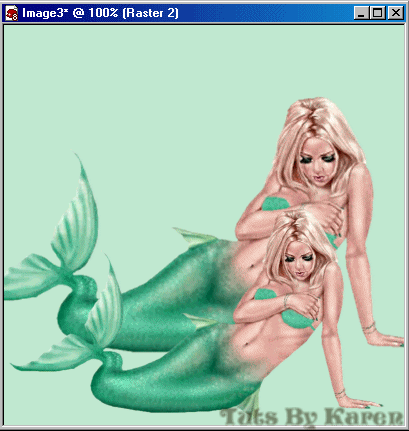
Flood fill with the color of your choice. Unhide and highlight the graphic layer, right click on it and choose duplicate from the window that comes up.
Now make sure the graphic layer in back is highlighted on the layers palette. Go to image-resize, set at 125%
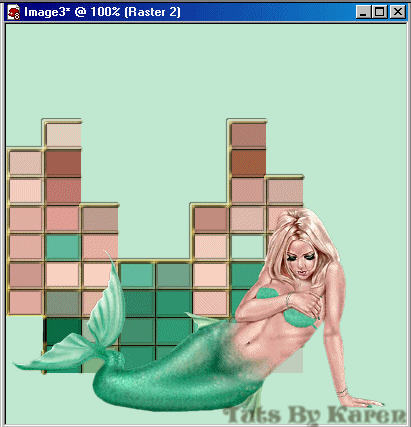
To make the effect bigger(I like it that way) I duplicated the layer again then went to image-mirror:
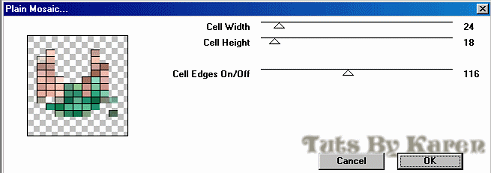
Now go to Effects-plugins-toadies-Plain Mosaic and use these settings:
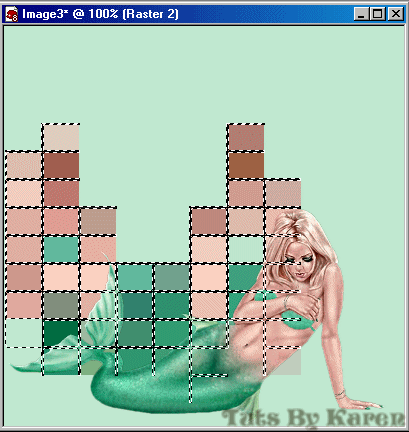
Here is how it should look (it will vary depending on the graphic you use):
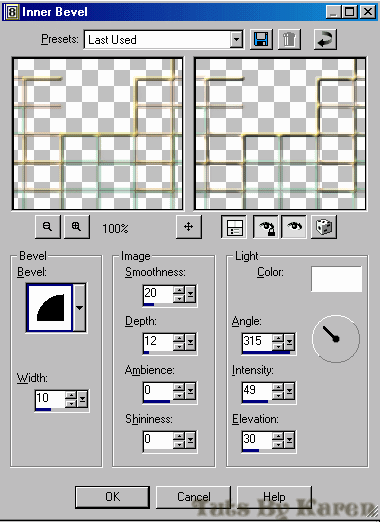
I like to add gold trim, you don't have to, but in case you do, here is how: Using your magic wand click on the black edges of your mosaic:
Flood fill with gold, either a pattern or a gradient. Go to effects-3d effects-inner bevel and use these settings:
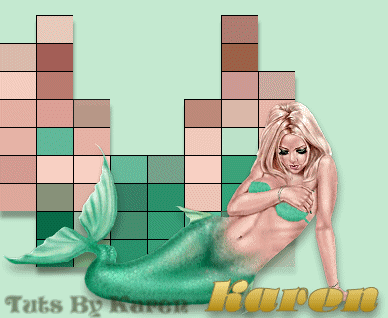
Apply a little drop shadow. Selections-select none.
I just applied my name in gold in a script font and I am through.
Here are 2 ways I made the final sigs so you can see how different effects look with it.