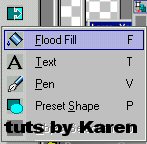
Step 9: choose your flood fill tool
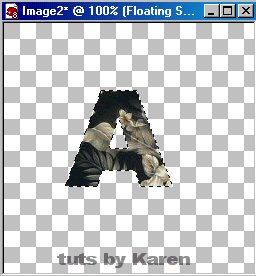
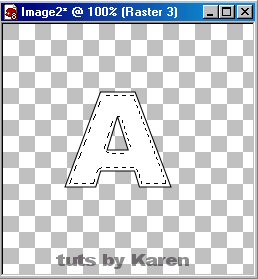
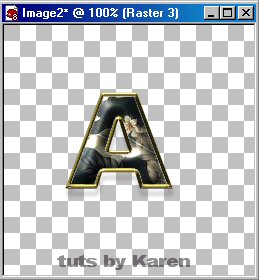
Step 10: Touch the A with the text tool. Look what you should have now!
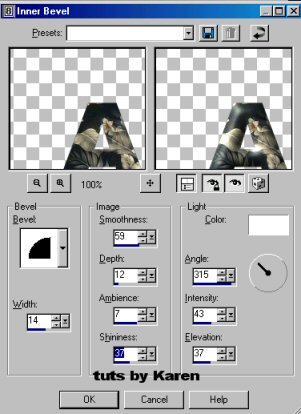
Step 11: Ok now on your taskbar go to effects-3d effects-inner bevel, use these settings:
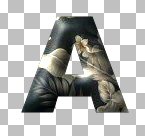
Step 12: You can put on a drop shadow if you would like now. Here is the finished A:
OK if you want to put a border around your letter start another graphic until you get to step 6.
Now we will go from there. The next step will be 13 as so not to repeat step numbers
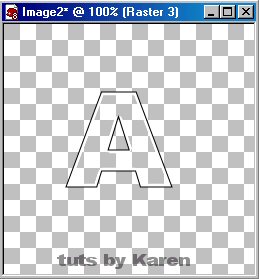
Step 13: Go to selections-modify-contract. Type in "4" in the box

Step 14: Your work should look like this:
Step 15:Selections-save selection to alpha channel. Use these settings. It doesn't matter about the the name of the image.

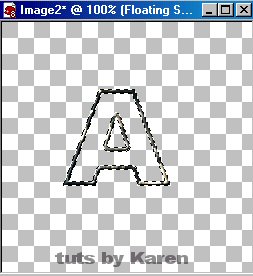
Step 16: Now hit the delete key. Make sure that you do not move your graphic at all!!
Here is the result:
Step 17: Hit ctrl-D to get rid of the "marching ants" Selections-select all, touch graphic with magic wand. Flood fill with a pattern.
It can be the same pattern you will use for the rest of letter or a contrasting one. I am going to use the same patterns in the border and the middle.
Effects-3d effects-inner bevel. Only change smoothness to 13.
Step 18: Hit ctrl-D again. Selections-Load from alpha channel. Make sure you have the middle part of the letter there. Click Load.
Flood fill with your pattern.

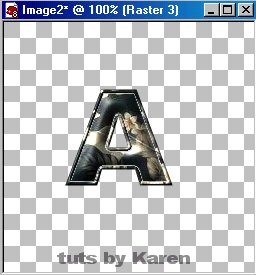
Step 19: Go to effects-3d effects-inner bevel, change smoothness back to 58. Cntrl-D. And there you have it!
Here is an example with me using Super Blade Pro to make the border gold.
Be creative using all sorts of combinations. You can make whole words using the same techniques. Just instead of one letter type in the word or words you want and go from step 2. I hope to see some on the show off boards!
Page 1